I was telling my brother about this complicated blogging website I wanted to build from scratch using Firebase and Next.js and he said the sensible thing which was, why not use something that already exists so you can start blogging today instead of like, months in the future if ever?
Actually, he was more specific. He knew I used a note management tool (and really this entire ecosystem) called Obsidian. He wondered if there was an easy way to host an obsidian vault - essentially, take the way I already preferred to take my notes, and just host THAT online rather than creating some entirely new knowledge management system.
Obsidian
This is what it looks like to create this page in Obsidian:
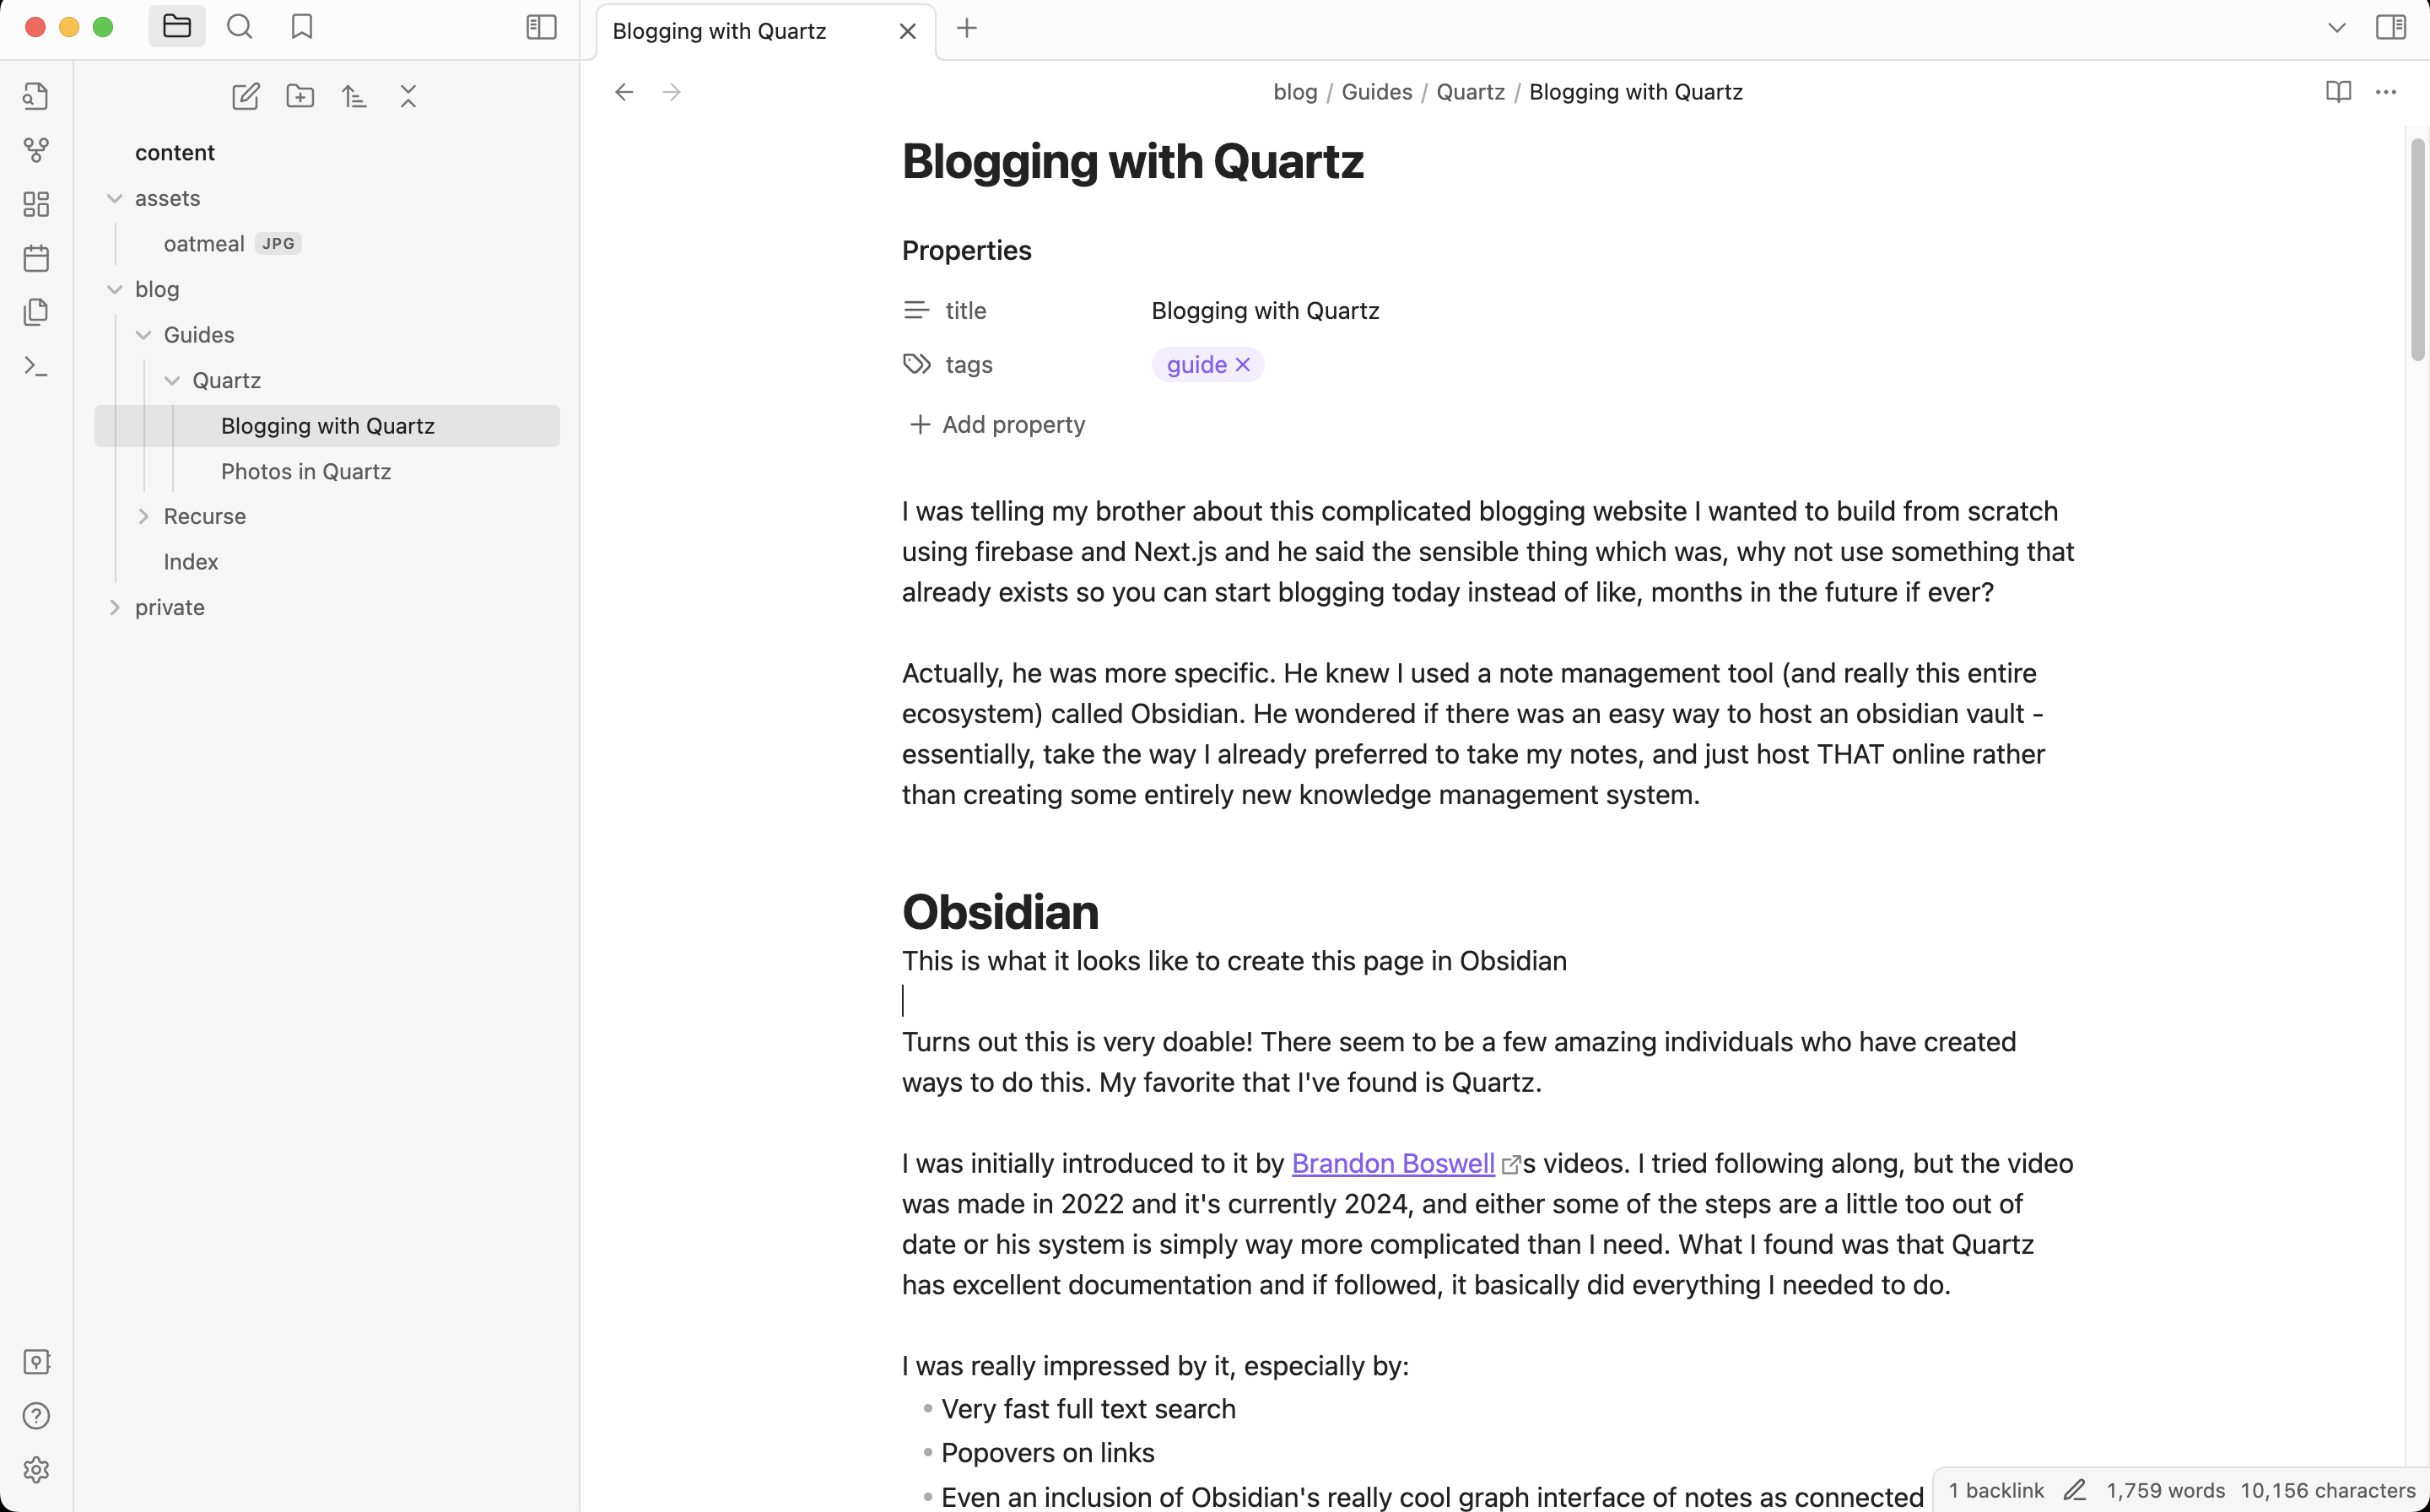
Turns out this is very doable! There seem to be a few amazing individuals who have created ways to do this. My favorite that I’ve found is Quartz.
I was initially introduced to it by Brandon Boswells videos. I tried following along, but the video was made in 2022 and it’s currently 2024, and either some of the steps are a little too out of date or his system is simply way more complicated than I need. What I found was that Quartz has excellent documentation and if followed, it basically did everything I needed to do.
I was really impressed by it, especially by:
- Very fast full text search
- Popovers on links
- Even an inclusion of Obsidian’s really cool graph interface of notes as connected “nodes” in a web!
- A bunch of other very thoughtful ways of allowing other people to interact with and explore your notes online
Jackie Zhao (the creator) also included really thorough instructions for how to host it.
Here is a slide deck I made on this subjectwith some pretty sweet midjourney images of various animals astronauts.
Setup Quartz (Brief)
- fork this and clone it locally with
git clone <the address of your new forked repo> cdinto your new local repo and runnpm i- run
npx quartz createif you want help populating your content folder - you can also do this manually in any way you wish, just make sure there is anindex.mdfile in the directory you end up serving with the… npx quartz build --servecommand, which also takes other flags, like--directoryif you’d like to specifically a subdirectory inside your Obsidian Vault. You should be able to see your quartz site locally atlocalhost:8080!- Go to the
quartz.config.tsfile and change yourbaseUrlto whatever the baseUrl is going to be for your hosted site. - [Create a deploy.yaml file as instructed here](npx quartz build —serve) - make sure to save and commit it.
- Head to your forked repo > settings > pages > Source and select
GithubActions - Make sure you don’t have some OTHER repo using your github page (at
your_github_username.github.io), or this won’t work - Run
npx quartz sync --no-pull - Head to
your_github_username.github.ioand behold, your site! - Whenever you want to sync after this, just run
npx quartz sync
Setup Quartz (Verbose)
-
Essentially, follow the getting started steps here, but I will be enriching them with my own instructions. For example, the instructions don’t recommend forking and instead instruct the user to clone the repo and then change the
originremote manually, but then neglect to mention that you need to push a tag to yourorigin. Whereas if you fork it, none of that is necessary and there are fewer steps. Go to the quartz repo and fork it | Note: If you want to practice doing this, keep in mind you can only have one fork per repo per user, so you’ll have to unfork yourpracticeversion when you do the final fork - possibly by cloning or deleting it. You can also clone the repo, but you need to make sure you get the upstream, origin, and tags all right (just make sure you have the v4 tag, which is used later on) -
Clone your forked version of the repo locally
-
Run
npm ito install all thenpmmodules needed -
If you want any help populating some helpful starter content in your quartz project, copying your files from an existing Obsidian directory, or even symlinking them, run the
npx quartz createutility and you will have an option to choose one of these options. I recommend using this utility and choosing theEmptyoption, which actually creates a sort of helpfulindex.mdwhich has useful boilerplate, including minimal frontmatter. You can also choose to not use thenpx quartz createutility which is fine - just keep an eye out for a message about creating anindex.mdfile later on when you are building and serving your quartz repo. Without this index file, the main page of your quartz site will show a404. -
We can try serving this thing locally now to make sure we’re on the right track with
npx quartz build --serve. You should see your site at the URL printed out! This could be a good time to tinker with the possibility of modifying thequartz build -- servecommand with the--directoryflag, which I have personally found useful to only build my public quartz blog out of some of my Obsidian vault. Like, it seemed nice to have a public and a private folder in the vault so I could easily drag stuff in and out of the public eye as needed while still allowing private stuff to reference public stuff. I will say that there are other ways to prevent certain vault documents and directories from getting deployed, which are documented here. This can be achieved simply with, say, usingquartz build --directory content/public --serve. Note that this is the same command that is eventually referenced inside thedeploy.yamlfile used for hosting, so if you add any flags like this to it, you’ll have to change it in thedeploy.yamlfile as well to get that configuration on your hosted site. Or you could just add it to yourpackage.jsonfile as a command and reference that single command in both places to simplify your life. -
This is a good time to open your
quartz.config.tsfile and read about the configuration options available. Perhaps notably, you’re probably going to need to change yourbaseUrlconfig field to your hosting URL. Otherwise you’re going to have issues with hosting. This field is going to be"quartz.jzhao.xyz",by default. Since I am hosting with Github Pages, then I changed mine to"elijer.github.io"for example. But checking out all your configuration options is probably going to be helpful in some way or another as a preemptive step to creating the quartz site you want. -
Okay we’re serving this thing locally, we’ve poked around in the config a bit, it’s time to host. Before we do that, we have to make sure our changes are synced with github - this is because ultimately, to host, we’re going to be deploying whenever we push to our github repo, so having that repo set up is the first step. The good news is that if you forked the repo instead of cloned it, you should already have a forked repo, which your local repo should point to as
origin, while also still pointing to the official quartz repo asupstreamso that you can always benefit from updates further down the road. That said, theSetting up your GitHub repositorystep on the quartz blog lists some steps you can take to make sure all this is in order. Simply runnpx quartz sync --no-pullto do the initial push of your content to your repository. -
The Quartz documentation outlines a few different hosting options - after all, it produces a static bundle of HTML, CSS and javascript that be served directly to the browser - but this guide will be focusing on GitHub pages, mostly because it’s free.
-
Create a new file here:
quartz/.github/workflows/deploy.ymlwith this content, and don’t forget to save and commit this new file, or the action won’t run when you sync!
name: Deploy Quartz site to GitHub Pages

on:
  push:
    branches:
      - v4

permissions:
  contents: read
  pages: write
  id-token: write

concurrency:
  group: "pages"
  cancel-in-progress: false

jobs:
  build:
    runs-on: ubuntu-22.04
    steps:
      - uses: actions/checkout@v3
        with:
          fetch-depth: 0 # Fetch all history for git info
      - uses: actions/setup-node@v3
        with:
          node-version: 18.14
      - name: Install Dependencies
        run: npm ci
      - name: Build Quartz
        run: npx quartz build
      - name: Upload artifact
        uses: actions/upload-pages-artifact@v2
        with:
          path: public

  deploy:
    needs: build
    environment:
      name: github-pages
      url: ${{ steps.deployment.outputs.page_url }}
    runs-on: ubuntu-latest
    steps:
      - name: Deploy to GitHub Pages
        id: deployment
        uses: actions/deploy-pages@v2
- Go to the settings on your forked repository (not for your account or anything else), head to the
Pagessection, and underSourceselectGithub Actionsinstead of the default option,Deploy from a Branch. This just means that the github workflow in the previous step will be able to deploy to pages. | Note: You can only have one github page at a time, so if you have another active this won’t work until you get rid of that github action. If you suspect this is the case, go to the same section of settings for that repo, and you should be able to see if that’s the case - there will be a message at the top that’ll tell you that github pages is live if, in fact, it is. - Now just run
npx quartz syncfrom within your local repo and this should deploy to your site, making it live at<github-username>.github.io/<repository-name>after a couple moments. - If anything isn’t working, look for the linked text that says
View workflow runs- if any actions were attempted in the deployment of your site, they should show up here. It also might just take a sec, and if you’re impatient like me, you can see a job in progress (it probably will take a max of like 20 seconds)
Comments
Turns out there is a way to add commenting for posts using something called Giscus! In order to deploy it I have to make some sort of changes to the content, so here we are.
Aliases
So I’ve run into a little bit of a problem. Quartz allows us to add the alias or aliases field to our frontmatter, which…sort if works, but has a really big weaknesses. If you have directories that have spaces in their name like I do, then the aliases don’t work.
To discover this, I did a lot of trial and error by downloading a fresh quartz directory and discovering that for directories that had a name that contained spaces, any aliased file below them no longer was linked to properly.
Otherwise, the alias function works well. You can declare a list of alternate names to link to that file in the frontmatter like so:
alias:
  - blog-withquartz
  - quartzblog
  - this-file-used-to-be-named-something-else
Yay!
But back to the other problem. If you’re like me, you were trying to use aliasing so that you could change the names of files later down the road without breaking the links to them you’ve put out into the world.
But because I used folders with spaces in them, this isn’t an option.
Unless! Can I alias the folders too? It turns out, no. Or yes. Sort of.
I could have avoided this pickle if I had known that in each folder, an index.md can be included, and that folder can be used to provide a display name like this:
// Index.md

---
title: Great name I want to show up as a title and in the sidebar
---
You can do this, but keep the actually name of the directory in the file system something different. In light of my spaces-break-aliases discovery, you might want to keep spaces out of your directory name. You can also keep in shorter, since it’s only going in the URL bar (although I’d keep the display names short too, otherwise they look pretty bad in the explorer sidebar).
So cool. I know what I would have done. I know what I will do - change all these directory names and give them separate display names. Even if I have to break existing blog links for people, we’ll get through - it’s more important that I can use aliasing in the future so that I can start building a blog that allows me some flexibility to change things.
But I really don’t want to settle for this. I don’t want to settle for either:
- Breaking my existing blog post links without some sort of redirection
- Never having the ability to redirect something at a level past the file name
I created one solution to this that was successful. It was complicated, but I created a filter that allowed me to create a set of folders that mimicked the old path names, but that did not appear in the sidebar. It was convoluted. But what I really hated was that it messed up my Obsidian directory really badly - lots of duplicate names.
That made me realize it wasn’t a good solution. However, I have thought of two better solutions:
- Extend the alias functionality to
absoluteAliasthat can create redirects for an entire path, not just the file-name part of the path. - Give files a unique permalink (possibly in frontmatter) that doesn’t depend on where they are in the directory structure at all.
- A relatively separate system that overrides quartz and can define redirects based on a large JSON configuration file instead of using frontmatter, filenames, and finicky things like that. Every redirect can first check this JSON configuration file and, if the path matches a redirect pattern, make the redirection.
Gotchas
- Looks like if you rely on your frontmatter to give a different display name to your folder, make sure the
index.mdfile is lowercase - uppercase may break the deploy. And for some reason, github doesn’t seem to totally honor casing changes of files?? So be careful with this.